To create a Triage Service you need to use the Intake procedure. This workflow allows you so save the Triage and assign it to another person.
Depending on your permissions you may not be able to perform some the tasks below.
Step 1. Click on CLASS from the primary menu.
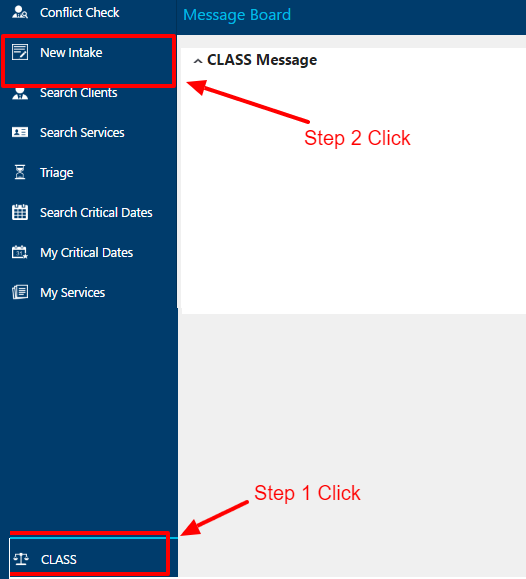
Step 2. Click on New Intake from the secondary menu.
Step 3. Select Triage from the Service Type drop down list.

Enter the relevant Service Details. Key information at this stage may be first name, last name, problem type, contact details, date of birth and additional parties. This information will help you identify, prioritise and eventually proceed with the Service. More can be added later.
Select a Priority Level. High priority indicates that the Service requires immediate attention. This effects how the list of Triage services are displayed.
Assign the Triage to a Worker. This is important as leaving a triage service unassigned may mean they are lost or forgotten. You might assign the Triage to the Solicitor on the next advice shift, or the principal solicitor to review. When in doubt, ask the principal solicitor. Services can be assigned to multiple Workers, as well as reassigned later.
At this point you can:
Add Additional Parties, and conflict check each one.
Go to Step 3 to Conflict Check the potential Client.
Now, Save Service and the Triage service will be created and added to your triage list.
NEXT