Accessing your DMS from CLASS – Add a Link in Client Notes Field

Have you ever wished you could access your DMS or where your centre saves your Word and other client artefacts, directly from CLASS? Here is a quick workaround that allows you to access your client folders that are not part of CLASS with one click from CLASS!

CLASS has WYSIWYG Text Boxes available. These are slightly different from normal text boxes, allowing you to add extra formatting to them.  This type of textbox stores not just the text, but the formatting of the content you wish to copy into CLASS.

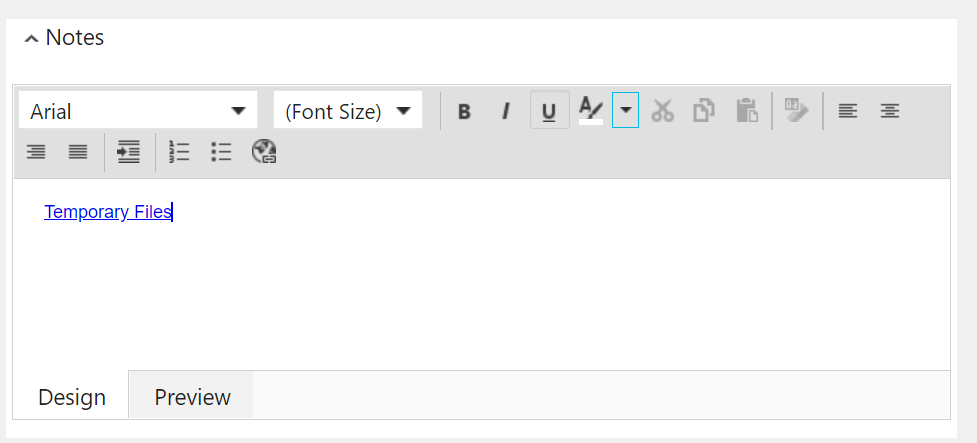
Use the CLIENT NOTES field on a CLIENT RECORD to leave a direct link to your SharePoint or other DMS system where you store client advices, file notes and other items outside of CLASS, so you click once from the CLASS client record to easily gain one-click access to that other system. 

Examples of other WYSIWYG Text boxes in CLASS


How to add a link to the Client Notes field

Put the Client Notes field into ‘Design Mode’

  1. Navigate to the client record in CLASS that you wish to access to add the link to the external SharePoint instance where your centre stores your documents.
  2. Scroll down till you see the Client Notes field.
  3. Switch the Client Notes Field to the Design Tab.
  4. This will expose the tool bar and allow you to edit the content inside the field. 

Think of it this way:

  • In design mode, the text box allows you to edit it and place links or content you may have a Shared Template to paste into the Clients note field for your administration staff then they would then have to go and get the SharePoint link for this client folder or make a new one.
  • The preview button allows you to interact with the content you have made so you can left click on the links you have pasted and they will take you to their destinations


Locate and Paste the Link to the DMS

  1. Navigate to the correct folder or file in SharePoint Online (this will be the SharePoint website with you logged in not your computer, or your DMS)
  2. Once you have navigated to the correct Client folder, click the 3 ellipses at the right of the folder name, then click the copy link button
  3. Go back to CLASS and now use a Keyboard shortcut to paste the content (Ctrl + V or CMD + V) or right click and paste
  4. Save the Record and you’ve successfully put your Client Relevant folder i.e for their documentation within the Client Record. 

Note this process will work for any of the WYSIWYG text boxes mentioned above.

Important note on security:
By design, default links copied will only be configured to be opened by people in your organisation, whom have permission to access your SharePoint instance. This is to ensure that only persons who can access the client record, can open those documents, when they click on the link. If they are not permitted to access the folder (through the permissions contained within SharePoint), they will not be able to view the documents, just by clicking on the link. If you would like further information, please review this Microsoft article for more details.


Other Suggestions

Note these are only suggestions as every centre is different. Please use your discretion to determine if relevant to your centre. Call us or consult your external IT provider if you need more assistance. 

  • On the CLASS centre message board (linked above) leave a generic link and instructions to your overall SharePoint site as this is the first screen your users will see when logging into CLASS
  • Leave Client folder links on Client notes as described above
  • On Actions (under a service) if the action is a file note – in the description of that action leave a link to the file in SharePoint using the method above of copying the link 
  • On the Community Module, in either the project service and or project notes, leave the overarching SharePoint folders for those community element. Note you may want to separate these in your SharePoint site or other DMS system, where you may have an overarching Client folder you can then have an overarching Community Project folder


For any documents that are created from templates:

  • Try to ensure you save all these type of links as read only links to avoid users editing them unintentionally.
  • See this guide and put this to your IT team , provider and or personnel for these important documents.
  • Again this is only a suggestion and may not be 100% relevant for you so please use your discretion.


How and where you leave links – put a centralized place for your staff to refer to that

  • Define & document how your users should be leaving their SharePoint or other DMS links. Give them a guide on when and where they should use this process and include them in your centre’s induction documentation.
  • It may be worth while preparing a Word Template in SharePoint and leaving that on your CLASS message board – i.e. “New Client – Notes Field Template” where the content of that said document would be a template of where to find the Client notes in SharePoint as well as a shortcut link to the overarching clients folder in order to save your data entry staff some time. 


Ensure your files in SharePoint are named in a particular convention and leave that in a centralized place

Does your centre already have a naming convention for your client artefacts? Create a guide for users to refer to and place a link to that on the Centre message board for example for easy reference. An example of a naming convention could include:

  • Any new client folder should be named as Surname + Client ID i.e. Doe C123456 or Lastname + Firstname + Client ID i.e. Doe John C123456
  • you may define that any files should be named using this convention YYYYMMDD Surname Document Type i.e. 20220525 Doe Client Advice , perhaps include the service ID at the end of this i.e. 20220525 Doe Client Advice S123456

Once you pick a convention try and stick with it and rigorously reinforce its usage as this will greatly benefit your organization.

If you note any useful other SharePoint tips and tricks, please share it with us at icthelp@clcs.org.au


More SharePoint Online Help

Again review internally with your IT Personnel, provider and or as an organisation if the below applies to you or is of use to you:

19 tips – (https://www.origamiconnect.com/blog/sharepoint-best-practices-for-end-users-19-tips-and-tricks)

SharePoint for not for profits: (https://www.microsoft.com/en-au/microsoft-365/nonprofit)

Article on Not for Profit Share Point benefits: (https://www.shareknowledge.com/blog/why-non-profits-should-be-using-sharepoint)


Digital Futures 2022:

A festival focusing on bridging technological gaps and tech innovation is on and there are opportunities for not-for profits please attend / review if that interests you: (Digital Innovation Futures initiative)

Search