Copy service allows a Client Service to be duplicated – The new copy will be attached to the existing client with the same details – service open/ close dates, assigned to, Actions and Documents are not copied.
Please also be aware that some potentially critical information will be copied, and that this may not be correct for the new service.
If you cannot see the new Copy Services icon in the Client Services Tab, please ask your CLASS admin to check your user permissions. Permissions for such tools may need to be added manually for centres using custom roles.
It is best practice to carefully check all fields, and tabs on the new service to ensure all information is as intended.
Examples of fields that are copied by default include Additional parties, and custom fields. All additional parties such as Other Parties and Related Parties ARE copied to the new service. So it is essential to check to ensure these parties are still relevant to the new service. Parties that are not relevant can be selected then deleted via the delete icon. New Additional parties should be conflict checked as usual and added to the new service.
Custom fields are another area where particular care must be taken. All custom field settings will be copied from the original service as is. So please check carefully all fields are relevant in the new service before saving. For example many centres have set up custom fields indicating in various ways if a service has been checked by a senior worker. It is very important to remove any such indications from the new service.
Copy Service and CONFLICT CHECKING: When using ‘copy service’ function the user must still follow any required procedures including conflict checking all parties (this can be done manually in ‘conflict check’). Please talk to your supervisor about your conflict checking obligations.
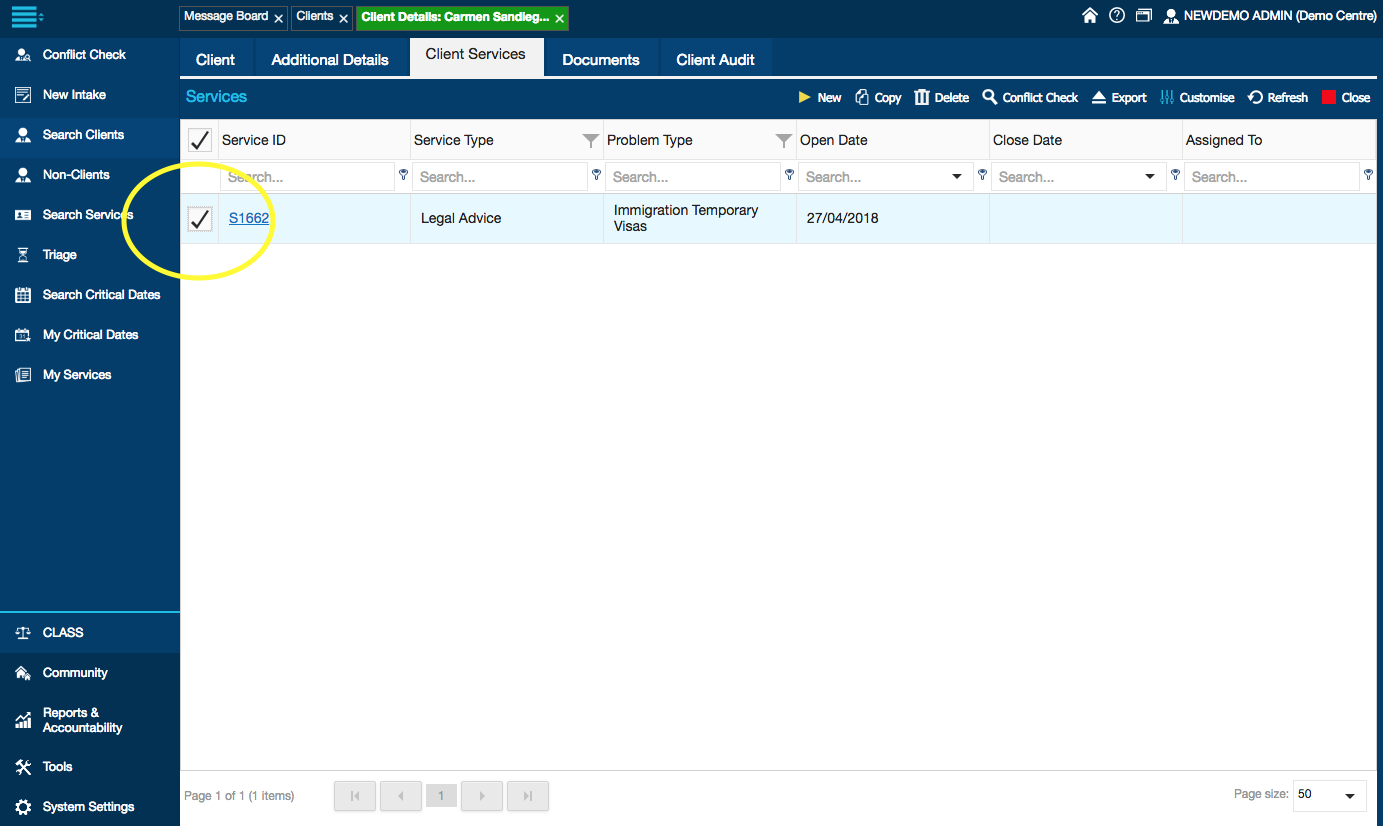
The ‘copy service’ button is located in the ‘client services’ tab within a client.

Select 1 existing service to copy by ticking the box to the left of the service.
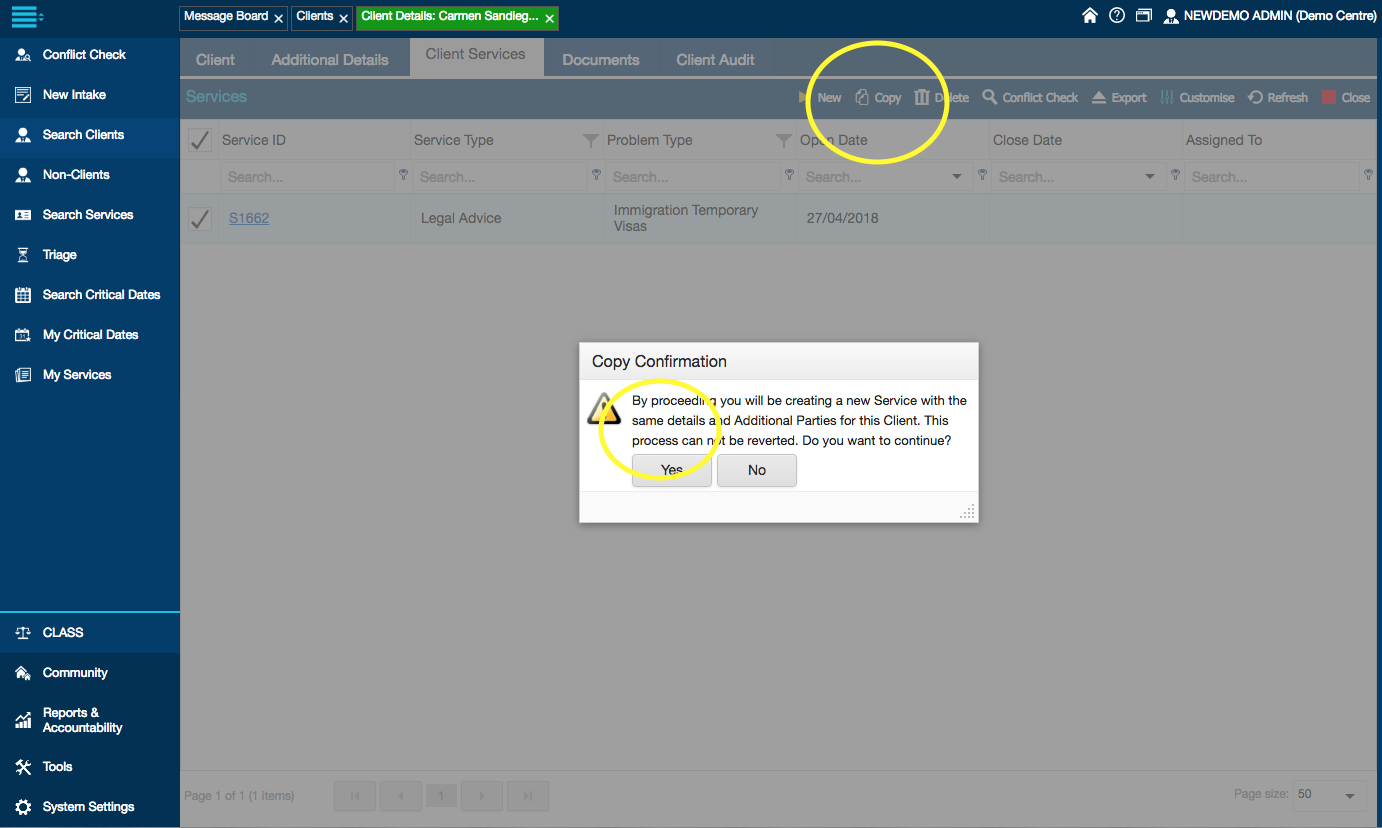
Left-click once the ‘copy service’ button, then click yes.
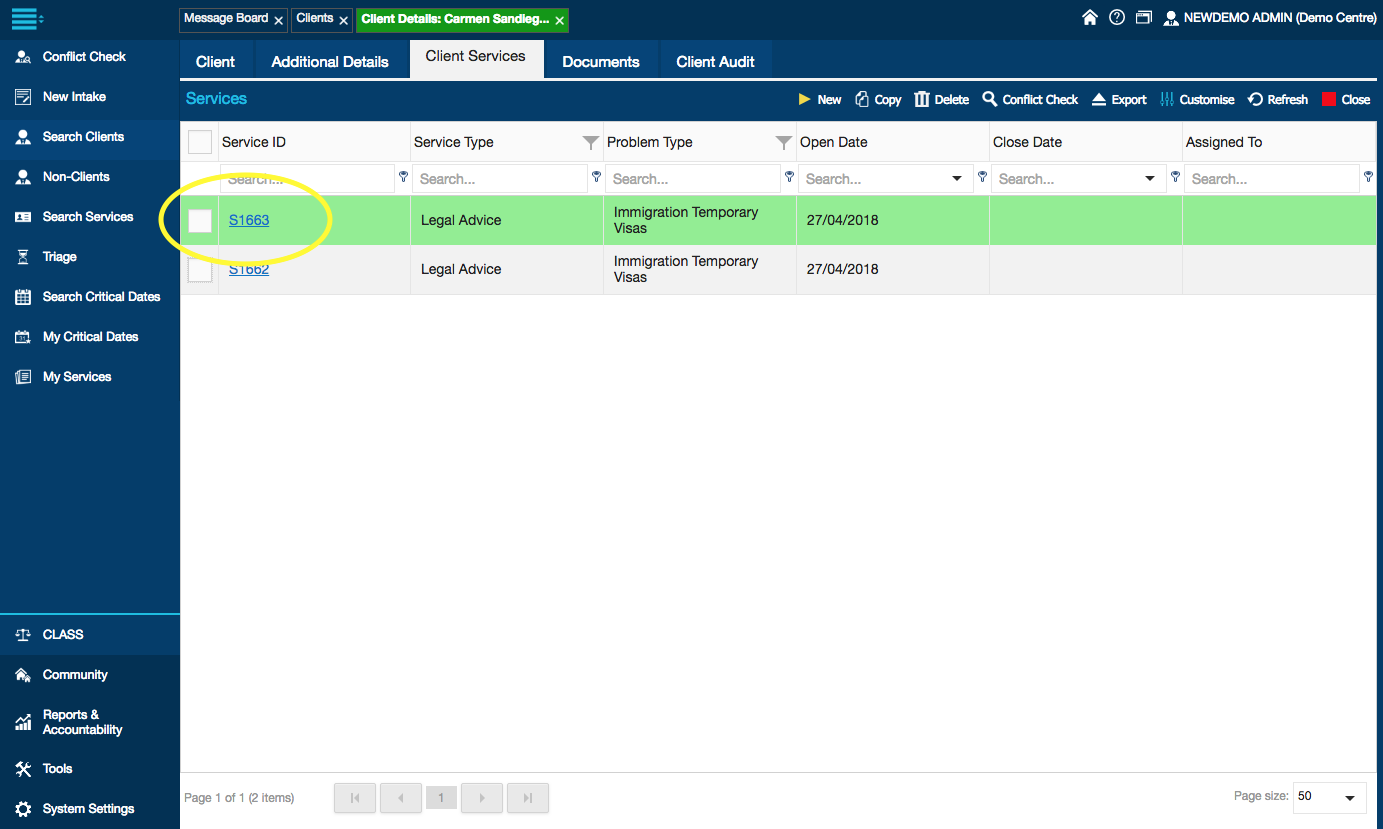
A copy of the service will be created with a new service ID. The new one should be highlighted and with a new service ID.
Enter the service and make any needed changes, particularly dates, actions and documents, then left-click save. For information about creating, editing and deleting service details, actions, documents, please see the relevant parts of the CLASS user guide on this website.