Centre users can customise their individual list views of data in CLASS on these pages:
Narrowing the data returned when a query is made on these pages by adding or removing Standard & Custom fields to the page means a better experience for users and also empowers advanced users to make better use of the centre data by being able to drill down through the layers of data returned quickly.

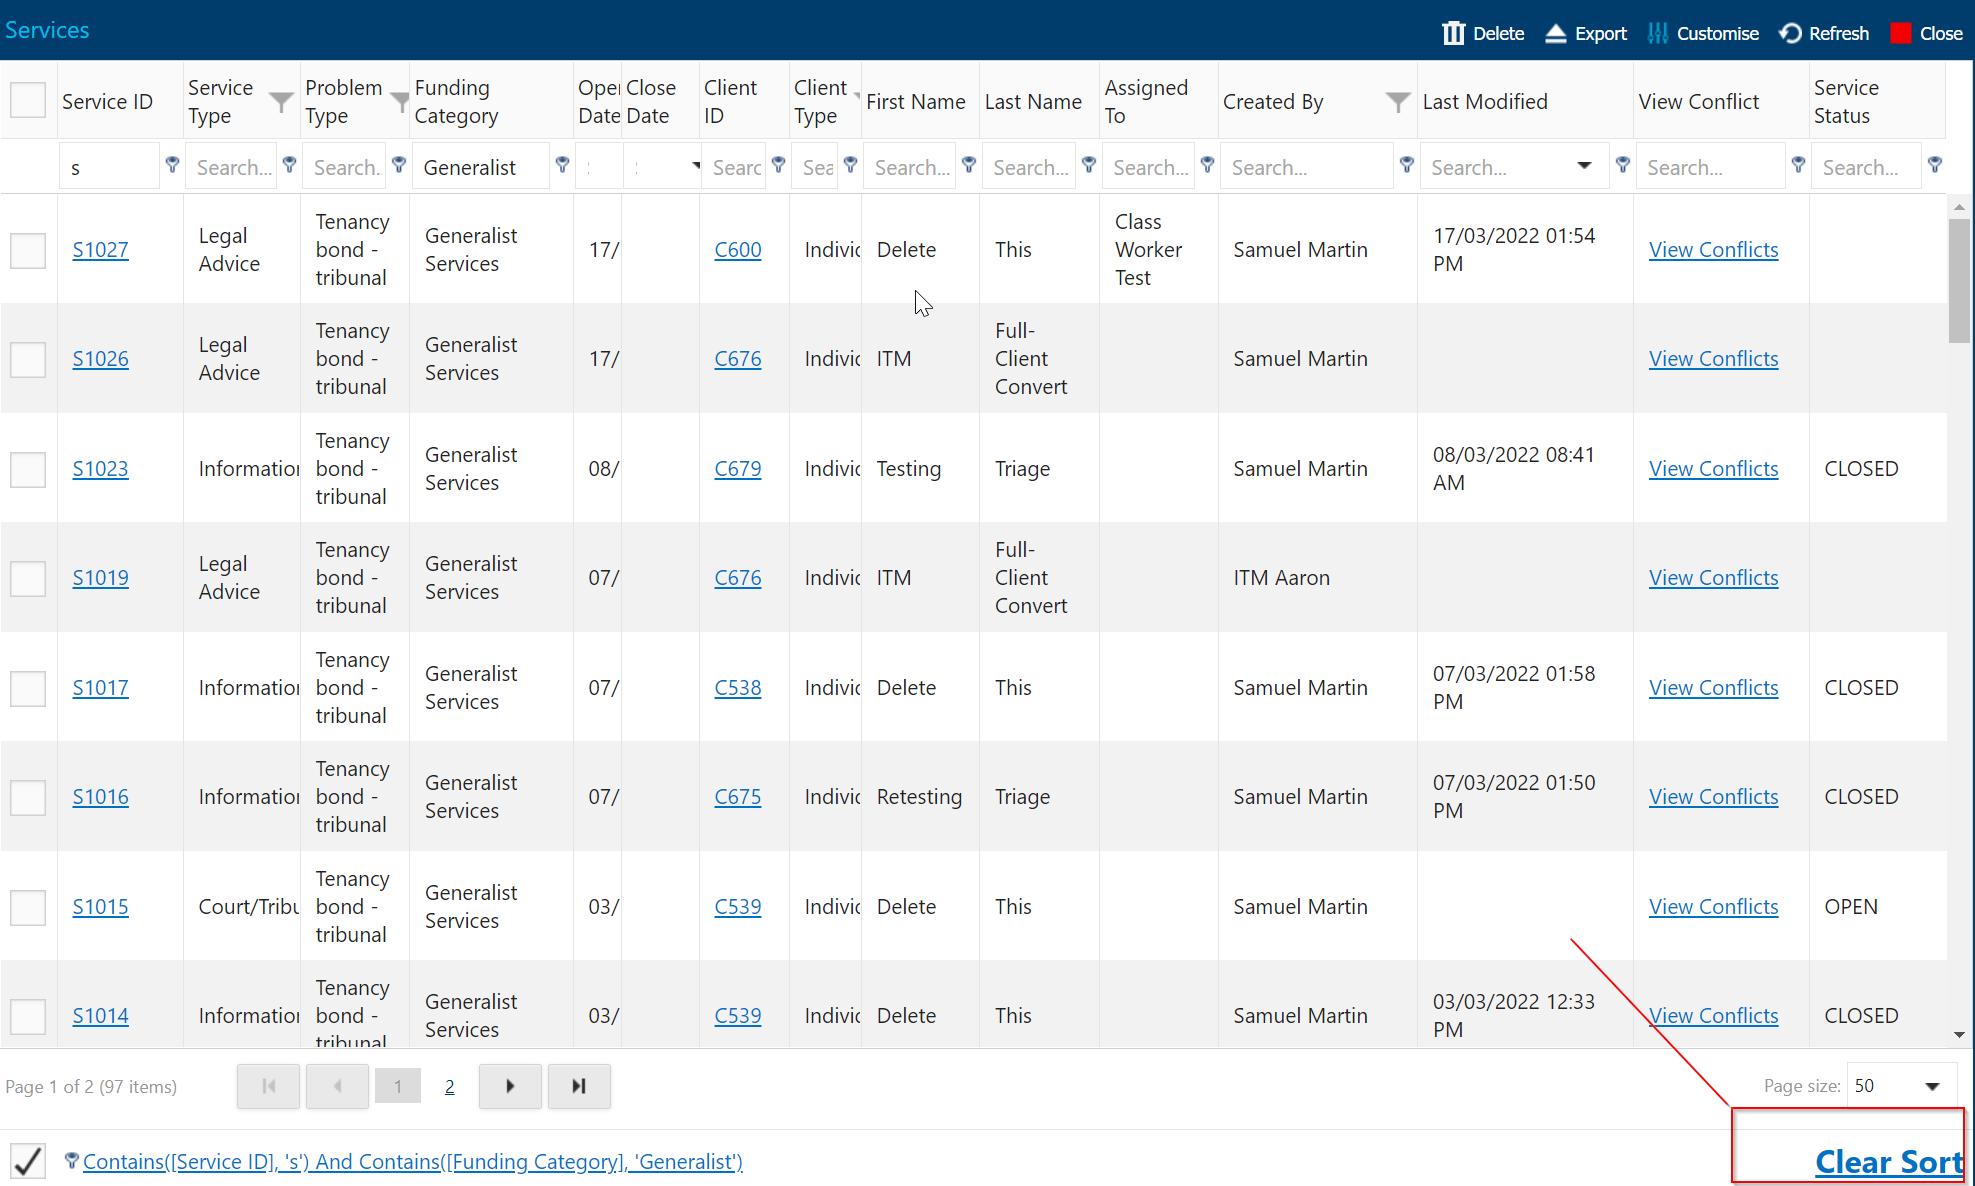
You can only filter with one custom field at a time, you may have several present or dragged into your Search Services but specifically filtering by them is limited to one at a time. After performing a search on a custom field we suggest pressing “Clear Sort” on the bottom right hand side of the Screen before conducting another filter with a custom field. (image below)
The system can render service page where user has done filter by only custom fields and the record count is less than 1000.
Note:
if you can’t see you’re custom field to add via the Column Chooser please expand and follow the steps in “Enable custom field for Column Chooser” below.
To learn more about creating Custom Fields themselves please see more details here
Step 1
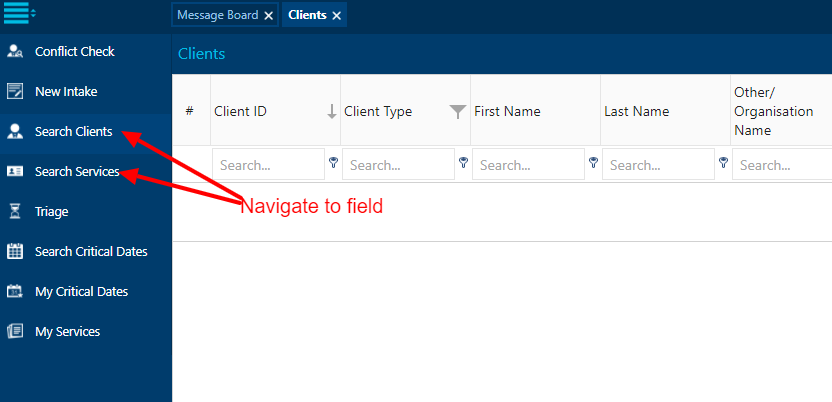
Navigate to the Custom field to be added to column chooser either in Search Clients – Search Services.
Step 2
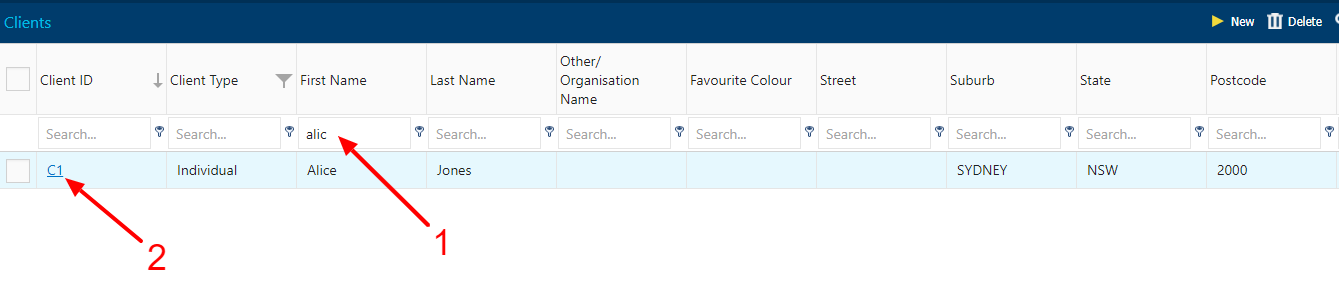
Search for a random Client or Service Record, then click the Service / Client ID to open the record.
Step 3
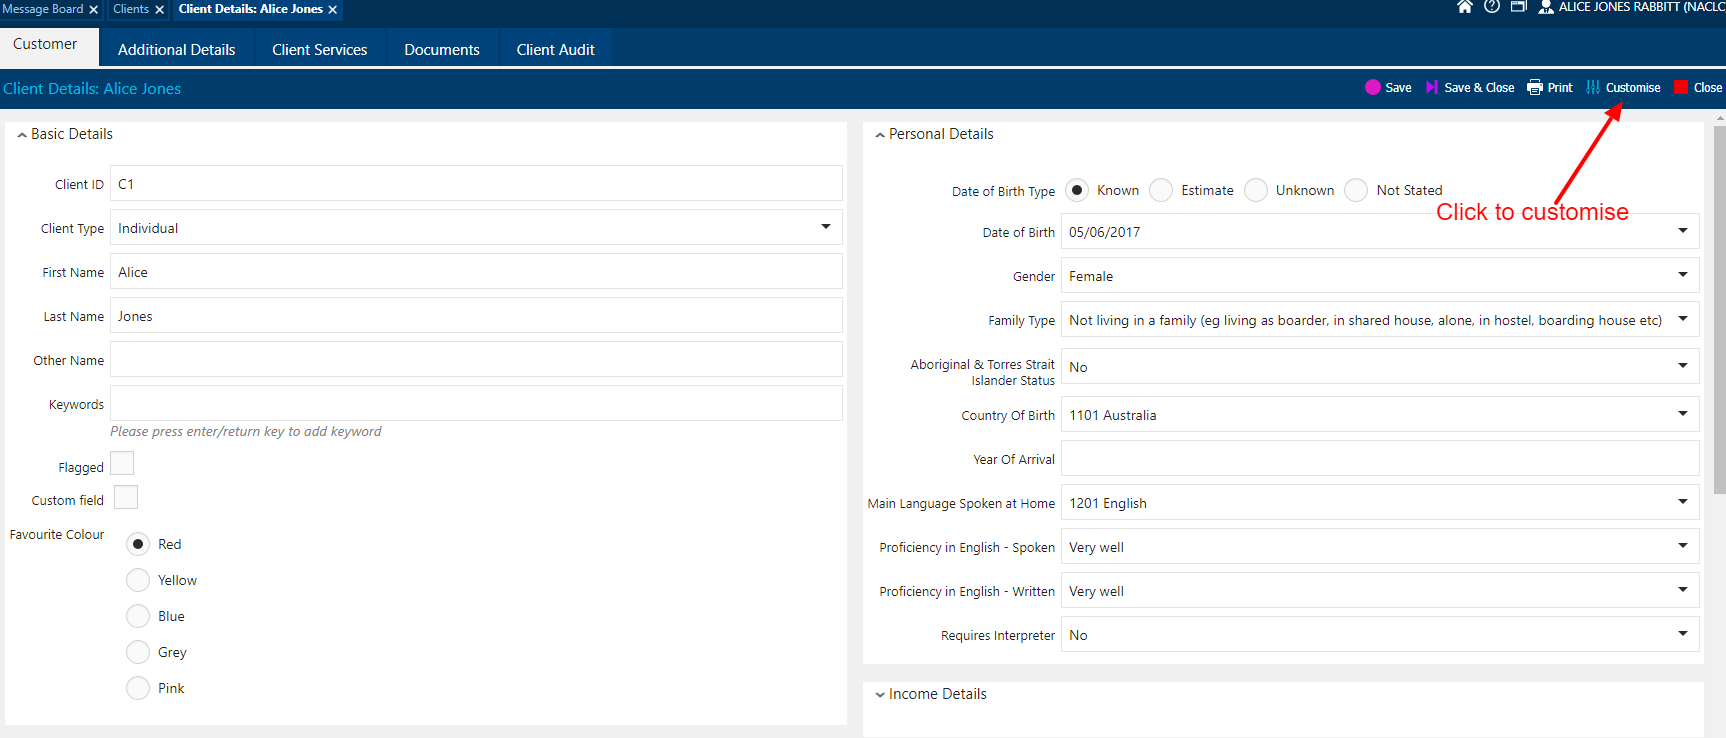
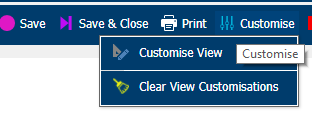
Once record is open, click on the customise button on the top left and click Customise View.
Step 4
Click Customise View.
Step 5
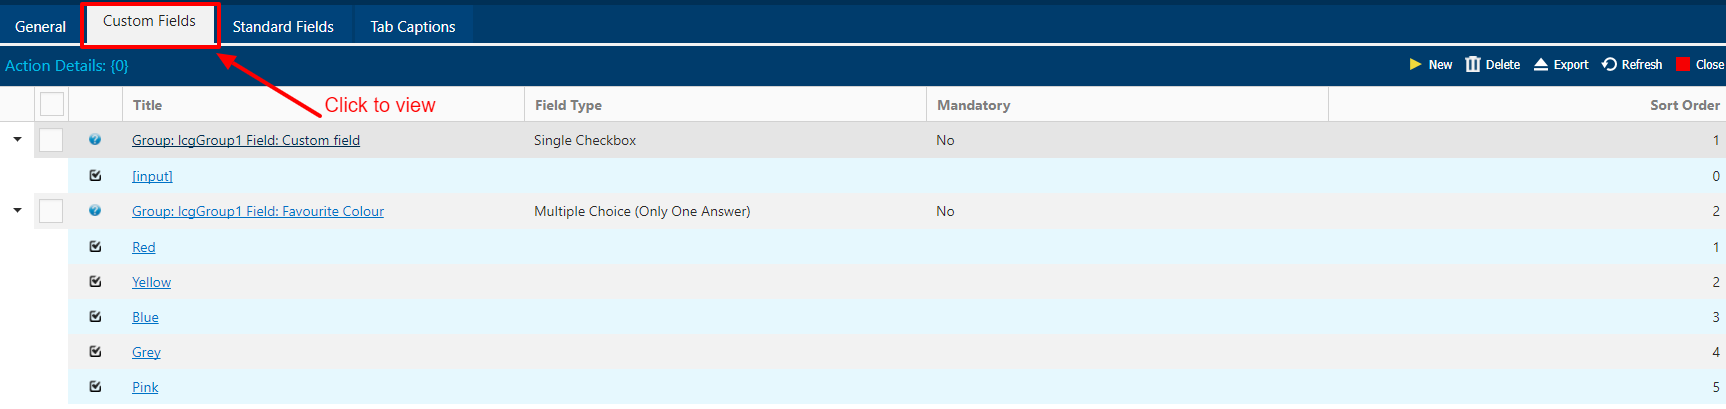
Once the Customise page is open Click on Customise Fields tab.
Step 6
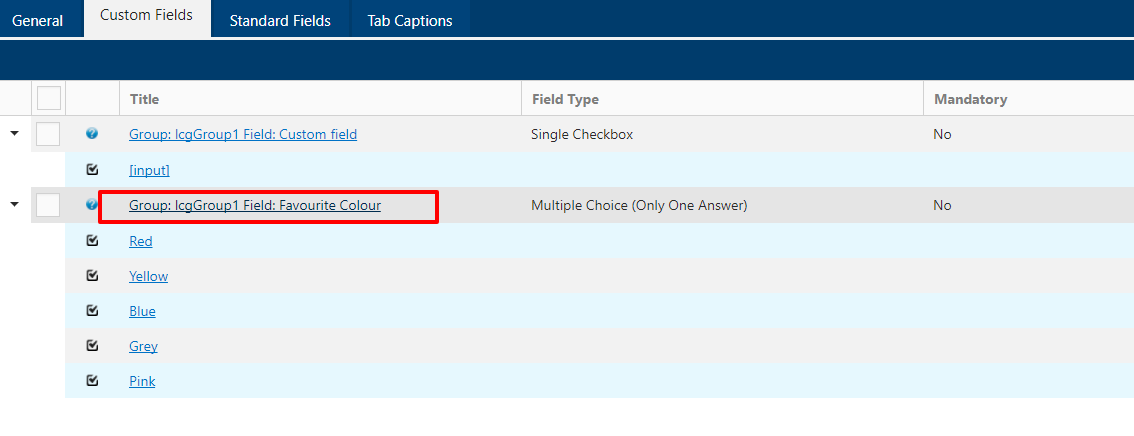
Once the Custom fields are open Click on the field to be added in the Column Chooser.
Step 7
Tick the Show list view tick box and this will add the field to the Column Chooser.
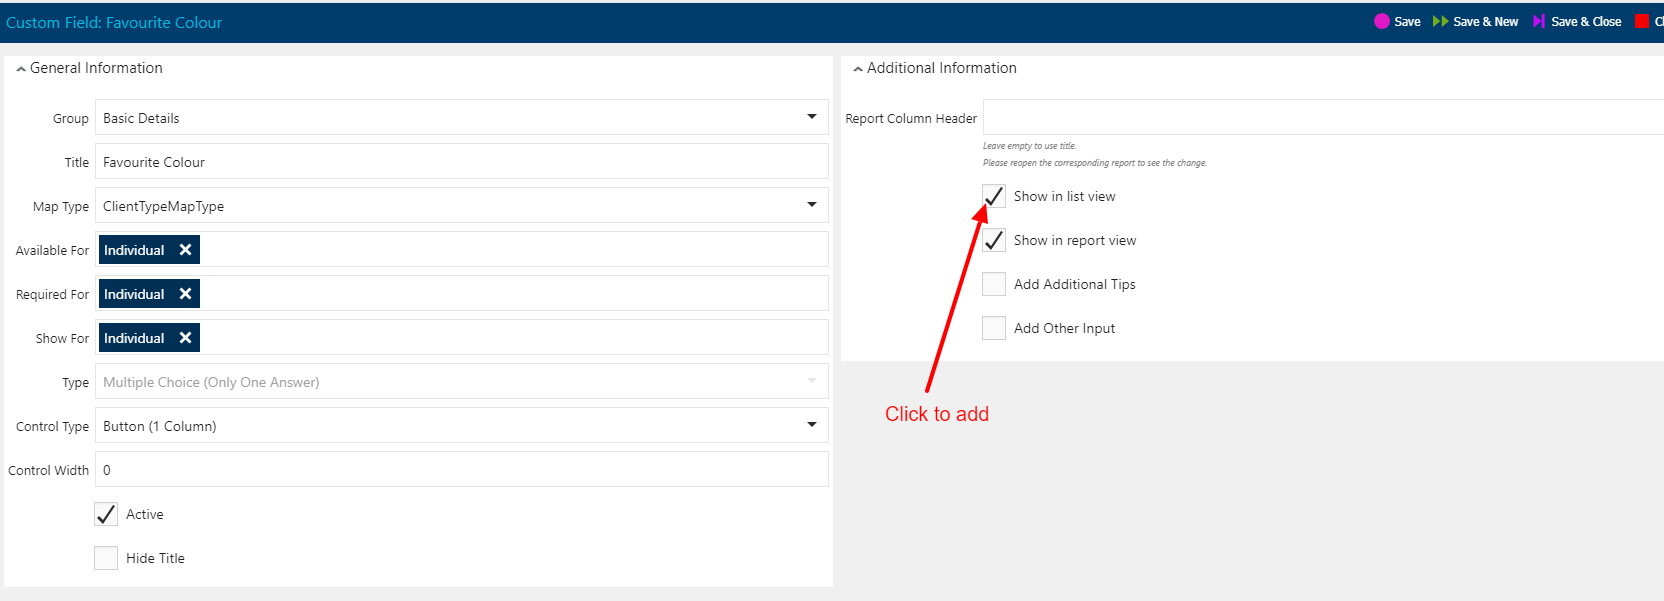
To view the field, log out of CLASS and log back in to refresh.
Navigate to the Search where field has been created and click on column chooser and the field will appear.