Users with CLASS Administrator permission or equivalent can access the tool ‘Client Merge’. This can be found in the CLASS menu Tools / Client Merge.
It is important to be very careful when using this tool to ensure that you are absolutely certain you have a duplicate. Remember the exact same name and a very close location may not be a duplicate. Families often live in the same location, cousins etc. may have the same name.
Some tips to get started:
If you cannot see the new Copy Services tool option, or the Merge Clients or Bulk Information tool, and you think you should be able to access them, please ask your CLASS administrator to check your user permissions. Permissions for these new tools may need to be added manually for centres using custom roles.
It is only possible to merge Clients of the same type. (See the Conflict Check section to understand new Client Types.) This means users cannot merge say Full-Clients with Non-Clients. The way to do this however, is to first edit that Client Type (e.g. change a Non-Client to a Full Client) from the Client Details front page, by editing the new ‘Client Category’ field, and saving the client.
Client Merge is under “Tools.” Click on Tools – Client Merge.

Clicking on “Client Merge” will bring up a page that looks like this. You will need to find Client IDs of the entries you wish to merge by checking the records in Client Search or Conflict Search.

In this example, in Conflict Search, there are duplicated client entries both under the name of “Client Merge.” Checking these records by individually clicking on them, revealed that C47 is an incomplete entry that can be removed.
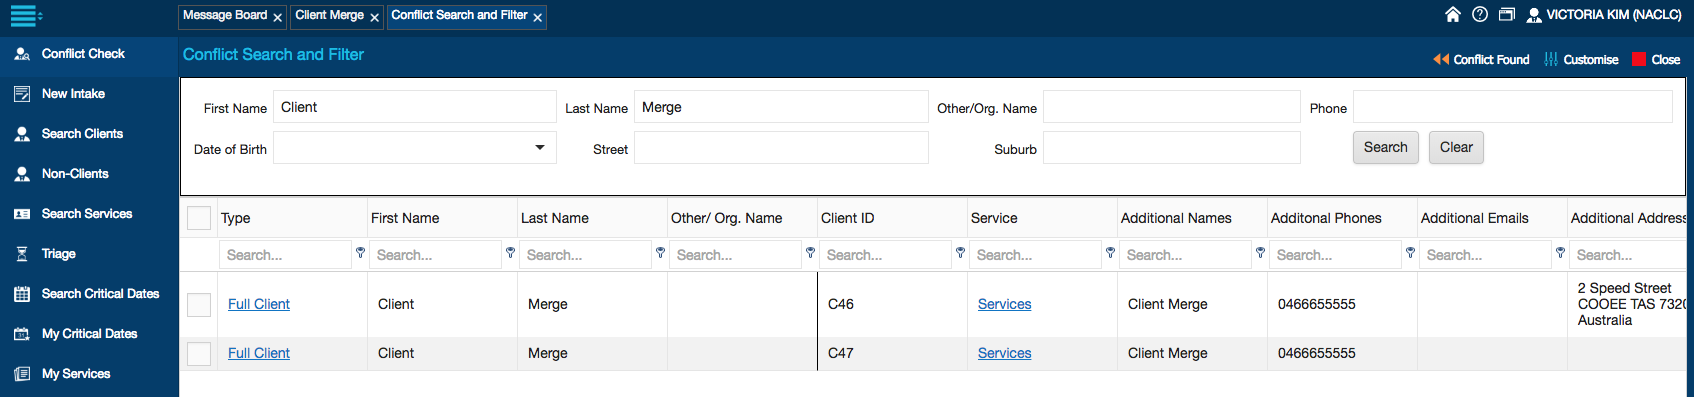
Go back to the Client Merge Tool, and search for both C46 and C47. Type in the Client IDs and click on “Find Client.”

Clicking on “Find Client” reveals the basic details under each entry. You can click onto the fields highlighted blue to double-check the records.

For peace of mind, it’s also possible to download client details before merging to preserve any relevant data. Simply click on “Download Client Details” buttons.

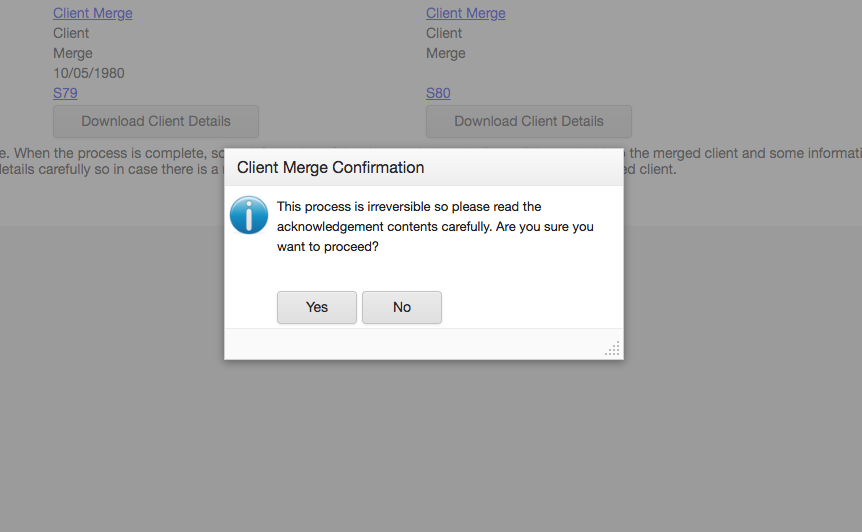
Once relevant data is saved, CHOOSE THE CLIENT ID THAT YOU WISH TO PRESERVE BY SELECTING “MERGE INTO THIS CLIENT.” Tick the acknowledgement box and click on “Merge Clients.”

You will get the confirmation message below. Click Yes.
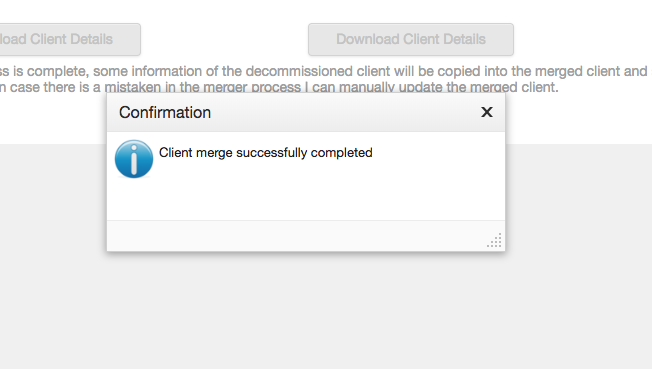
If successful, you will get this message alerting that the merge was successfully completed.
Going back to Conflict Search would reveal that CLASS has preserved C46 and removed C47.
