Centre Configuration is managed from the Admin Portal so centres will need to request changes from CLASS Helpdesk, who would normally be able to make changes in a matter of minutes, so try a phone call if urgent.
Here are the available options that can be configured:

Enforce conflict check on new ‘Client Service’ Creation: This disables the ‘New’ Button from the ‘Client Service’ tab. The result is that the only way to create a new service is to go through the “Intake” process OR the conflict check button from the ‘Client Service’ tab.
Enforce conflict check on ‘New Client’ creation: This disables the ‘New’ button on the ‘Search Client’ list view
Enforce Conflict Check notes: This turns on the pop-up called Conflict check Results, which allows users to select from options relating to the conflict check, such as no conflict, or possible conflict. Notes can also be written in the text box. This data is saved on the Service, and is particularly useful for centres that review conflict checks. The pop appears where conflict checks occur, such as at step 3 of intake, and via manual conflict checks via the service.
Show all Client Categories in Conflict Check: When ticked the centre will see all client categories in Conflict check including ‘Triage-Clients’ and ‘Non-clients’. leaving unticked means the only shown options will be the original ‘Full-client’, ‘Other Party’, “Related Party’, and Worker etc.
Delete Client names upon saving: When the user saves an Information/Referral Intake this will delete the client’s First name/Last Name/Other Name/Organisation Name before the service is saved.
Delete Additional Parties upon saving: When the user saves an Information/Referral Intake this will delete the entries in the Additional Parties Tab.
Delete Notes upon saving: When the user saves an Information/Referral Intake this will delete the Intake Notes field
Delete Additional Details upon saving: When the user saves an Information/Referral Intake the clients other details such as Date of Birth, Gender and Street details will be deleted before saving.
Allowing Emailing from the system: This allows emails to be sent to people outside of the system. This means that emails to clients or contacts other than workers will be restricted. This needs to be turned on for password retrieval.
Allow Triage: This allows the Triage Service type to be selected in the intake process. It also brings in Triage menu on the left hand side menu, and allows users to create and manage triage-clients.
Allow document management: This allows documents to be saved to clients, services, projects, and the centre. When ticked a tab will appear on these main pages, allowing documents to be uploaded and stored and searched and recovered. Document management is now highly recommended as the Merge client tool will automatically add PDFs of pre-merged clients to Client documents page.These can only be used when Document management is turned on.
Disable open date to today’s date: The CLASS default is that when creating a new service the open date (or date of service) will default to today’s date. Some centres manage a lot of data entry after the actual date the service was created, and so prefer to turn off the default date being today, but rather set it to blank but mandatory so the correct date can be manually entered.
Disable Concurrency Warning (not recommended): Allows users to log in multiple times in multiple locations
Disable Unsaved Prompt (not recommended): Removes the prompt when another user has a record open for editing
Disable Field Mapping Customisation: Removes the ability for the centre to perform field mapping customisation
Configurations is split into four sub menus. Menu Customisation, Permission Configuration, Message Board and System Configuration
If you cannot see the menu items please check your permissions.

Menu customisation allows an admin to rename or change the icon of the left hand menu. Some menu items can be set specifically for the SysAdmin account (highest access account) and menu items can be hidden from access. This controls only the admin portal menu.

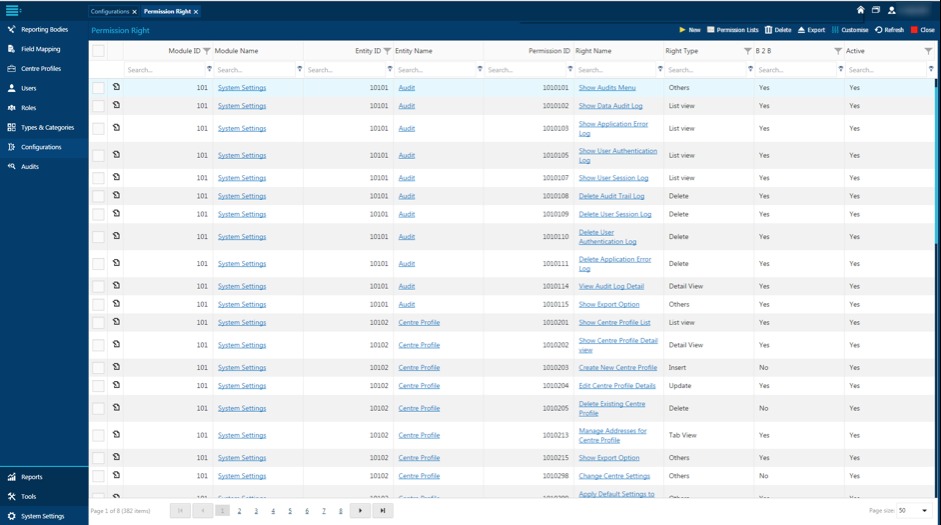
This controls the permissions available in the Roles menu. This interface should be limited to developers and trained system administrators.
This option allows an admin to edit the global message board. This message board is seen by all centres in the system when logging in and when viewing the message board in Tools > Message board. It uses a light HTML editor and allows pictures and various HTML styles to be applied.

The system configuration menu controls options related to security and audits. The settings in each tab will affect both the Centre and Admin portals.
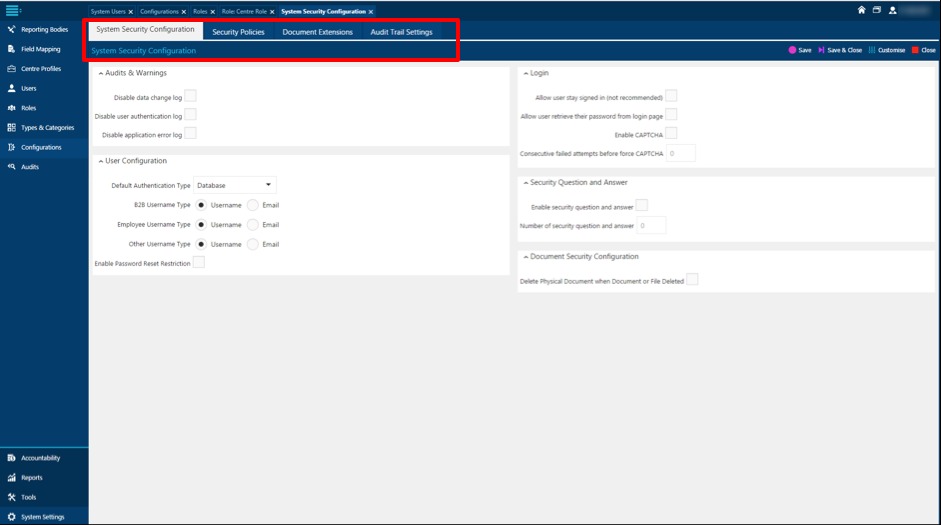
Disable data change log: Disables the Audit Trail log from recording entries. Will stop showing additional changes in the Client/Services/Project Audit tags
Disable user authentication log: Shows the Allowed and Denied log in attempts. It will show the reason that is given to the user for the denied log in attempts.
Disable application error log: Disables the Exception log which is used to read system errors by the developers.
Allow user to stay signed in (not recommended): This allows persistent sign in. When the user closes their browser the system will remember them and allow them straight back into the system without requiring a username and password. This is dependent on session timers.
Allow user retrieve their password from login page: This option enables the ‘Can’t access your account?’ link from the login page. This link gives the functionality to retrieve login access to the specified email account against a user.
Enable CAPTCHA: If the user gets their password incorrect too many times this forces the user to input letters and numbers from an image.
Consecutive failed attempts before force CAPTCHA: Related to the above, it sets the number of incorrect attempts before using the CAPTCHA.
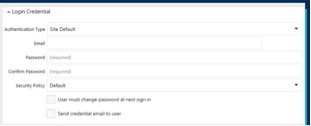
Default Authentication Type: This selects the default Authentication type when setting up a user. CLASS will use Database type for all users.
(B2B/Emplyee/Other) Username Type = Username: Using the Username option allows the user creation to set the username manually. From the new user creation screen the Username field will allow manual input
(B2B/Emplyee/Other) Username Type = Email: When the email option is selected the Username is replaced by the Email field. This will force the username to be the unquie email used in the system.
Enable Password Reset Restriction: When this is enabled it will not allow the administrator to manually input a password for a user in both new and edit modes. This means only the owner of that email address assigned to the user has access to the password/credentials
Delete Physical Document when Document or File Deleted: This will delete the file off the server once a delete request has been input.
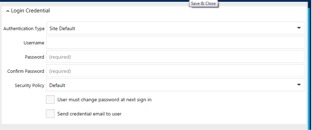
The security policy tab allows the creation/delete/edit of security profiles. A profile must be applied to a user account. It controls things such as password Complexity, password security and session control.
Upon Saving or editing a security profile the following pop up will show:
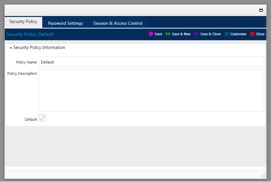
Policy Name: This is the name shown when viewing the policy on the list view or user management screens
Policy Description: A text description of the policy
Default: This checkbox will make the ticked policy automatically assigned when creating a new user.

Password Length
Minimum password length: Minimum number of characters the password is allowed to be saved as
Maximum password length: Maximum number of characters the password is allowed to be saved as
Password Characters
Require lowercase characters: The minimum number of lower case characters required in the password
Require UPPERCASE characters: The minimum number of UPPERCASE characters required in the password
Require Digits: The minimum number of characters digits/numbers required in the password
Require Special Characters: The minimum number of special characters required in the password
Password Content Restriction
Disallow user’s account name in password: When enabled it does not allow the username to be used in the password.
Disallow parts of user full name in password: When enabled it does not allow the users first or last names in the password
Password History
Keep password history for X password remembered: Does not allow user to use the same password for at least x number of resets. E.g. if it is set to 2 the last 2 passwords cannot be used.
Password will expire in X days: Number of days before password must be reset.

Lockout Policy
Enable account lock out: When enabled the subsequent settings will be applied and can lock out a user from trying to login.
Consecutive failed attempts before lockout: Number of times the user can get their password wrong before the system will lock their account
Account lockout duration X Minutes: If the account has been locked it will not allow the user to attempt again for the set number of minutes.
Reset account lockout counter after X minutes: The amount of minutes before the incorrect attempts counter is reset.
Account Settings
Make account inactive if not used more than X Days: If the account has not been logged into for the set number of days it will automatically be made inactive
Session Settings
Default Session timeout X Minutes: Number of minutes which a user will be allowed idle before timing out. Minimum length is 10 minutes.
Maximum Concurrent Sessions: Number of times the user can be logged in either on separate browsers or computers.
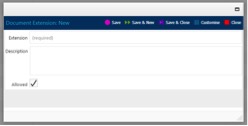
The document extension tab limits the file extension of the document/file uploaded to the system. This can be used to stop potentially dangerous file types such as .exe .bat .xlsm which may run upon completed download.
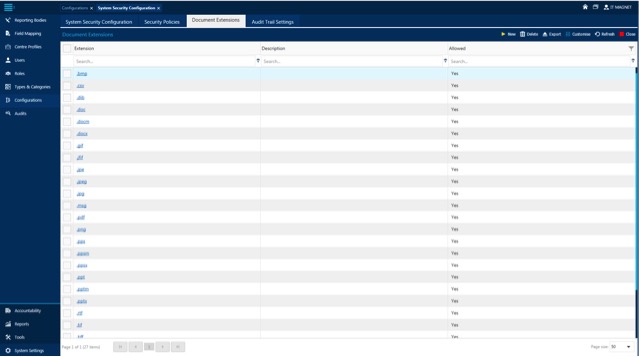
When allowing a new extension type remember to include the “.” Before the file type. E.g. “.txt”