Services can only be created for an existing Client, Creating a Service for a New Client can be done in 2 ways.
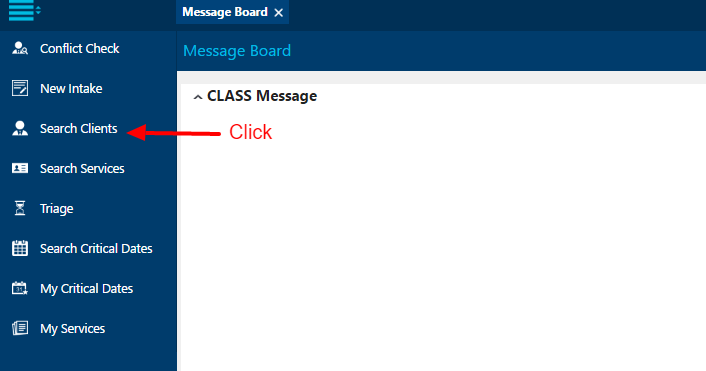
Step 1. First, find the Client using the Search Clients screen. More info: Searching for a Client
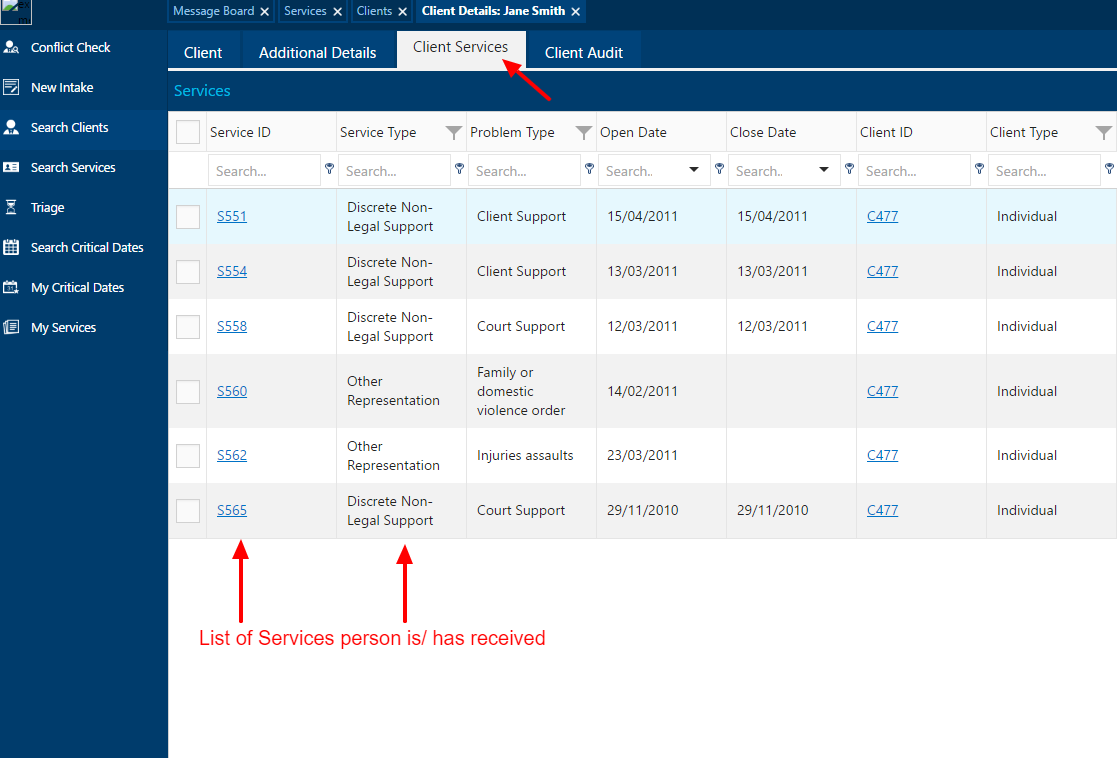
Step 2. Once the Client record is open, you can view and update the Client information.
Select Client Services for a list of existing services linked to the Client, and to add a New Service.
In CLSIS, this was known as the Client Activity History.
Step 3. You can view and update an existing open Service by selecting the Service ID.
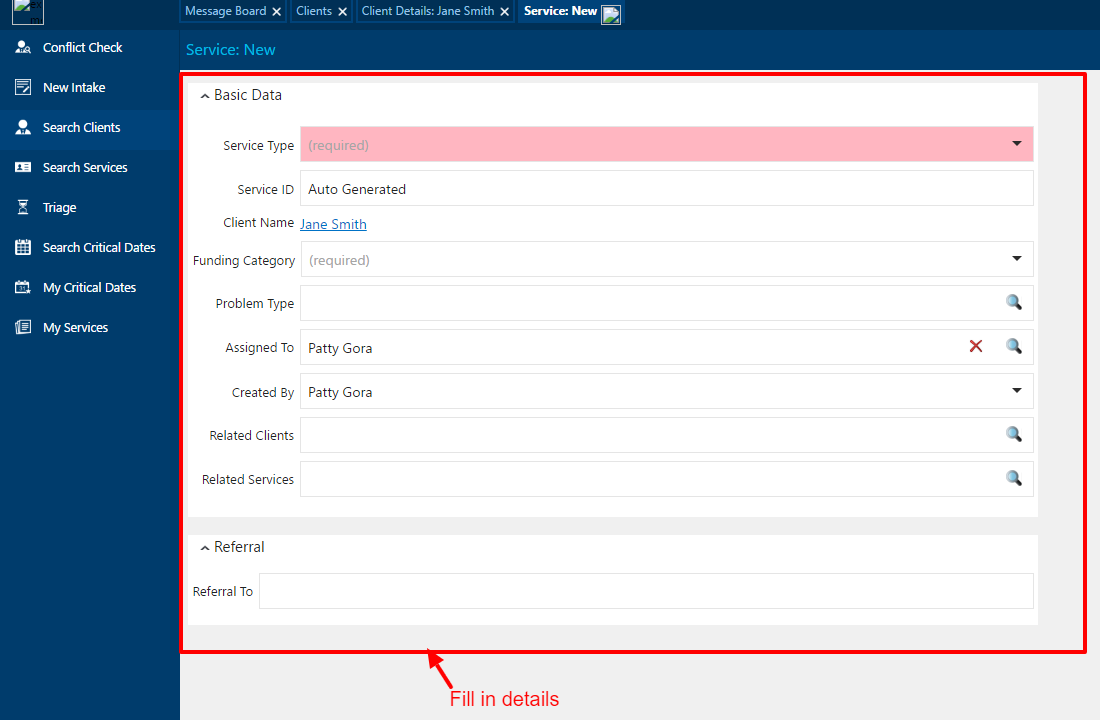
Step 4. To create a New Service, select New, located in the top right corner of the screen.
IMPORTANT
Not all users are able to add a New Service. This is dependent on permissions. If you are unable to see the New button, contact your CLASS Administrator.
Step 5. Enter the details for the New Service in the form displayed below. The groups displayed will depend on the Service Type selected.