Creating Printout Templates

After Navigating to Tools > Printout Templates you will be presented with the screen below:

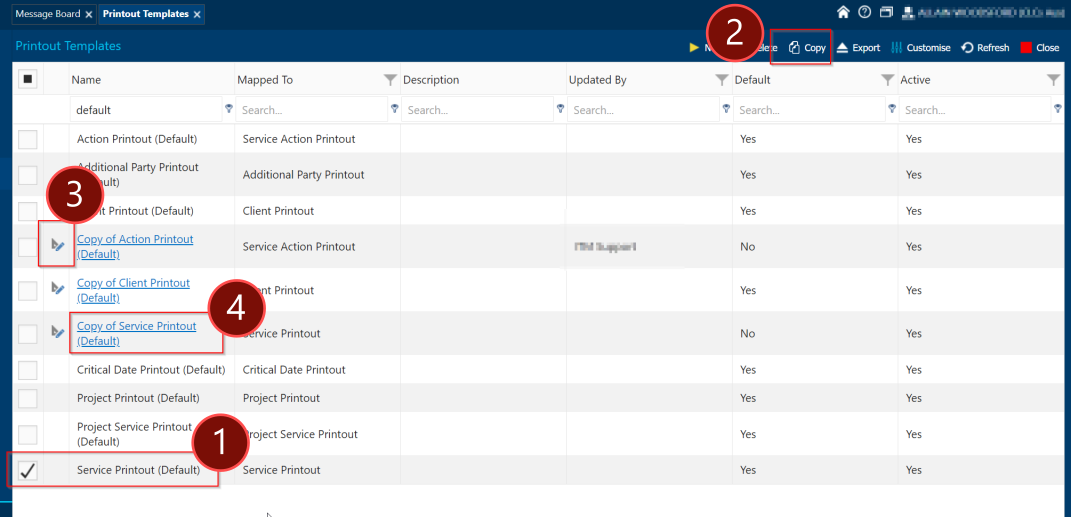
The Control Scheme for this page numbered by the points above are:

  1. A Printout template – please tick them to modify them with the buttons: (copy, delete , etc)
  2. The Copy Button – we suggest as a rule of Thumb when making your own Printout templates you copy the Default Template for what you are trying to change that would be the Service Printout (Default) in this case if we wanted to make our own version of that template. While it is possible to start with a New Template it is saves far more time using the existing ones and making changes. 
  3. The Design button – this only works on non-default Printout templates so ones you have created or copied this will take you to a separate screen where you can make changes to the template itself
  4. Editing a template – templates with their names highlighted blue will let you change their: Active Status, Default Status and or name and description. 


Best Practice do Backup’s and Versioning if you can:

Note: It is a good Idea before making significant changes to your own templates that you have spent allot of time on to save a Copy of it as a “Backup” and mark that as inactive that way if something goes wrong with the existing template you do have a contingency. We recommend you include any version control or notes about backups in the description or the name of the template using point 4‘s control scheme.

Video:

Search